Written with insight from Lee Webber, founder of Design A View, who has over 30 years of experience installing windows and doors across Hertfordshire.
Getting new windows fitted is one of the most worthwhile upgrades you can make to your home. It brings better insulation, lower energy bills, less outside noise, and a fresh look both inside and out. But installation day tends to run more smoothly, and cause far less disruption to your routine, when your home is properly prepared beforehand. A well prepared home means fitters can work efficiently, there’s less risk of accidental damage to your belongings, and the whole job is more likely to finish on schedule.
At Design A View, we’re a FENSA approved and CPA accredited installer. After more than 30 years on site with homes across Hertfordshire, covering AL1 to AL3, AL5 to AL8, SG1 to SG12, WD3 to WD25, HP1 to HP23, EN5 and EN6, we’ve seen firsthand which small bits of preparation make the biggest difference to how smoothly a job goes. Below is our full checklist to help you get your home ready, along with what to expect once our team arrives and a few things worth doing once the job is done.
Why Preparation Matters
Homeowners often assume that getting ready for window installation simply means being in when the fitters arrive. In reality, a bit of planning in the days beforehand can shave hours off the job, protect your furniture and flooring, and make the whole experience far less stressful. Installers work faster and more precisely when they aren’t also having to move sofas, shift ornaments, or work around toys scattered across the floor. Taking twenty minutes to prepare each room can genuinely make the difference between a job that wraps up early and one that runs into a second day.
Before the Fitters Arrive
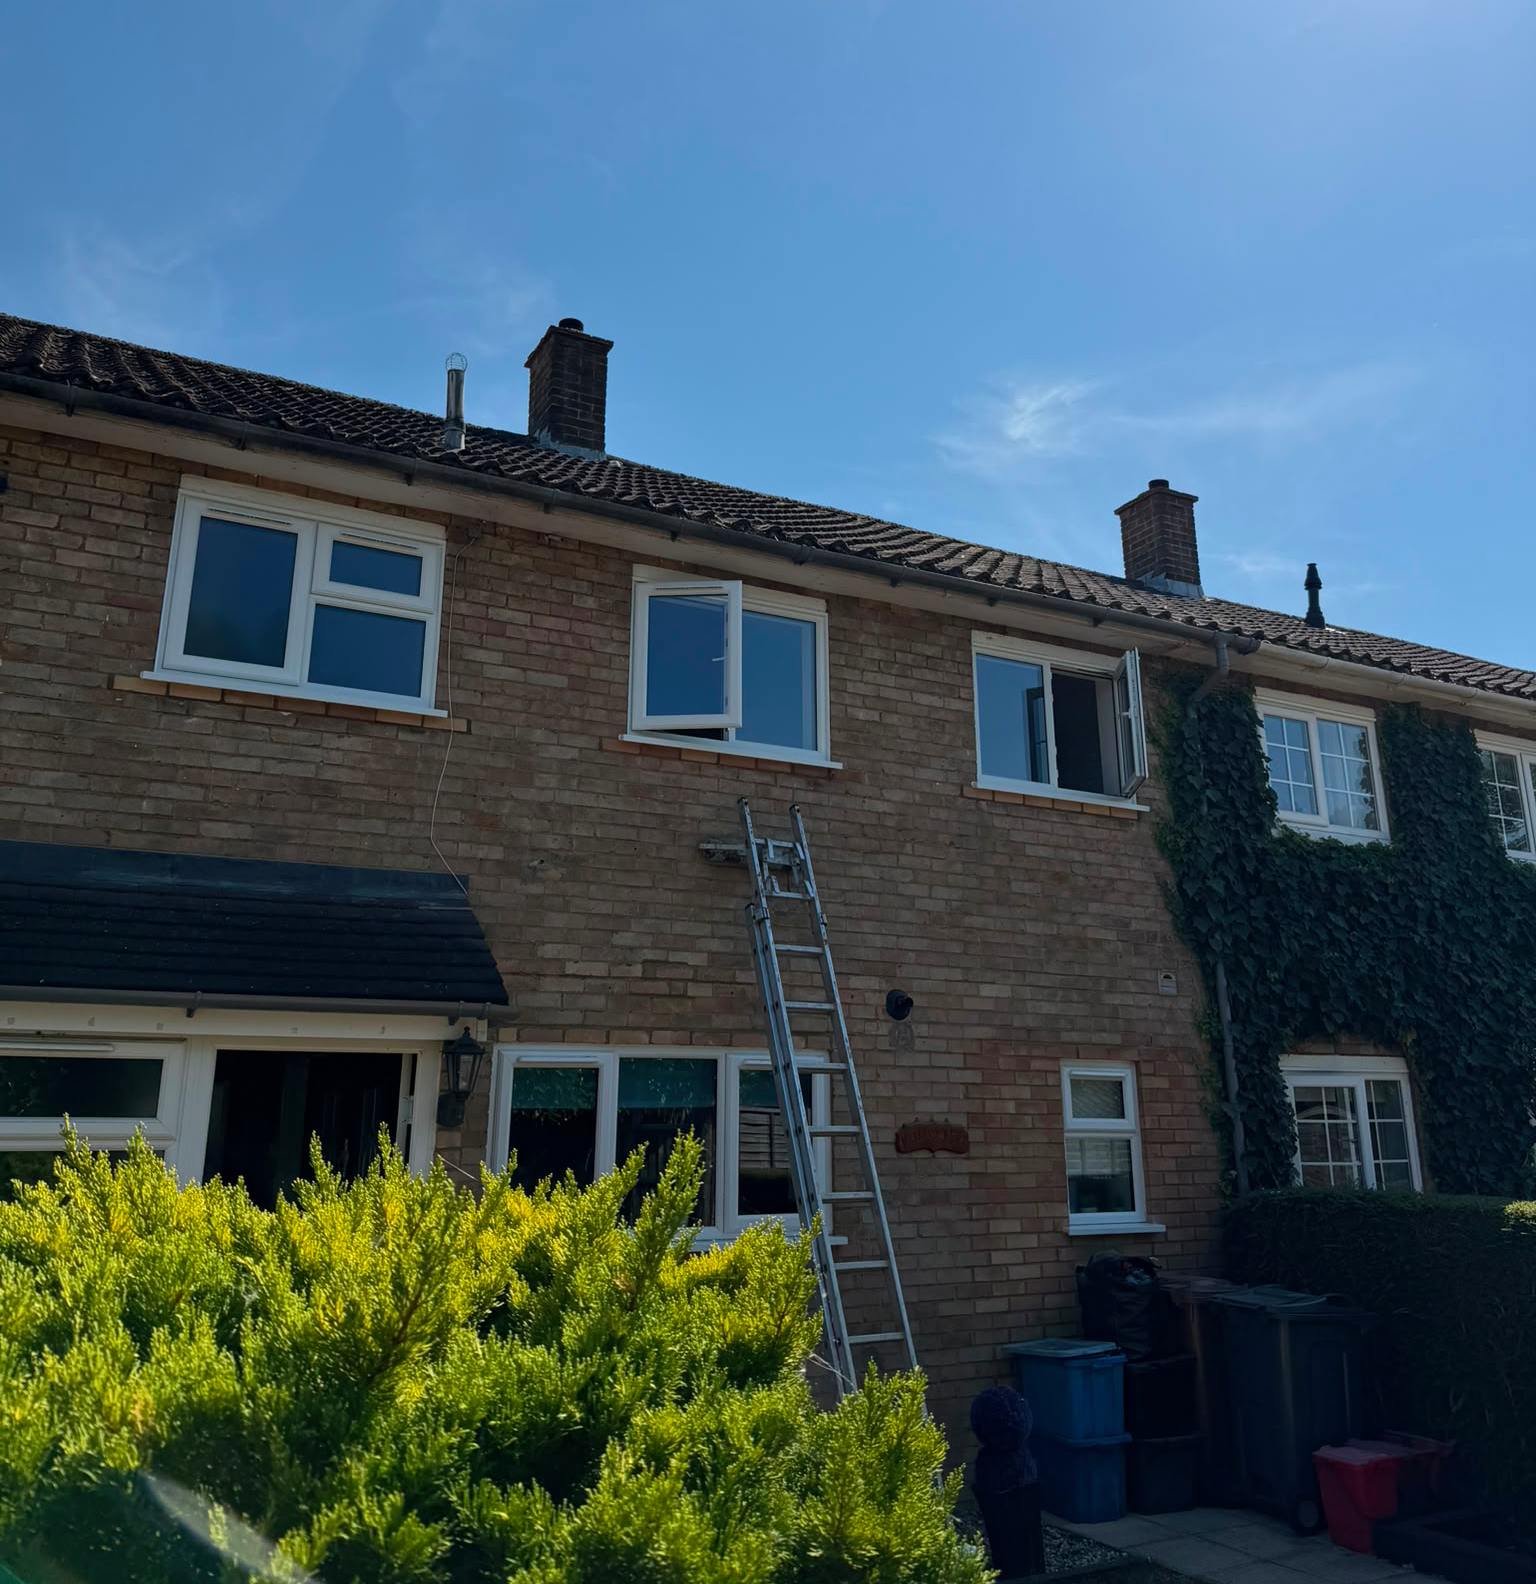
1. Clear the work area, inside and out Move furniture, curtains, blinds and any breakables away from each window that’s being replaced. Aim for at least a metre of clear space around the frame so fitters have room to work safely. Outside, clear flowerbeds, garden furniture, hanging baskets and anything fragile directly beneath the windows, since fitters will need ladders and sometimes scaffolding to access upper floors.
2. Protect your flooring Dust sheets or old towels laid down near the windows help catch dust and debris as old frames are removed. A reputable installer will bring their own protective sheeting too, but doubling up never hurts, particularly over carpets, rugs or wood flooring that could mark easily.
3. Remove window dressings Take down curtains, blinds, nets and any window film ahead of time. This isn’t just for the fitters’ convenience. It protects your dressings from dust, scratches and snagging during the removal of old frames, and means nobody has to work around them while fitting the new ones.
4. Plan for pets and children Installation involves power tools, open window frames, dust, and a fair bit of coming and going between the house and the van. It’s worth arranging for pets and young children to be elsewhere for the day, or at least kept safely in a separate room. This avoids any risk around open frames or tools, and saves you from chasing an escaped cat halfway through the job.
5. Check access points Let your installer know in advance about any tricky access, such as narrow side gates, shared driveways, steep steps, or parking restrictions near your property. This is especially relevant in busier residential streets where installer vans need clear, close access for unloading tools and new frames throughout the day.
6. Note down what matters to you If there are specific finishing details you care about, such as how the trickle vents sit, matching an existing colour scheme, or protecting a flower border near the wall, flag it with your installer before work starts rather than partway through. A quick conversation at the survey stage saves any confusion or compromise later.
7. Confirm the practical details Double check the start time, expected duration, and whether you’ll need to be present throughout the day. Most window installations for a standard home take one to three days depending on the number of windows and any additional building work involved, so it’s worth confirming realistic timescales as part of your quote.
8. Sort out power and water access Fitters will usually need access to a power socket for tools and, occasionally, water. Letting your installer know where these are located, or clearing access to an outdoor tap or socket, helps avoid delays on the day itself.
What to Expect on the Day
A professional installer will always begin by laying dust sheets and protective coverings before removing a single pane. At Design A View, our process runs through four clear stages on every job. First, a detailed on site survey to confirm measurements and assess the property. Second, a planning stage covering product choice, colours and an agreed timeline. Third, careful removal of the old frames and precise fitting of the new ones by our experienced installers. Finally, a thorough check to make sure everything is finished to a high standard, both inside and out, including brickwork and decor around the new frames.
Lee Webber, founder of Design A View, put it this way after three decades in the trade:
“Every home is different, and thirty years in this trade has taught me that the prep work matters just as much as the fit itself. When a homeowner has cleared the space and knows what to expect, the whole day runs smoother for everyone involved.”
This kind of first hand experience is exactly why preparation checklists like this one exist. Small oversights that seem minor on paper, like a blocked side gate or an unplugged curtain rail, are often the things that slow a job down most on site.
A Few Days After Installation
Once the fitting is complete, there are a handful of simple things worth doing to look after your new windows and make sure everything has been finished properly.
- Give new frames and seals a gentle wipe down once dust from the work has fully settled
- Test that all opening windows, locks and trickle vents operate smoothly and close securely
- Check that brickwork, plaster and decor around each frame has been left tidy and undamaged
- Keep any warranty documents or FENSA certification somewhere safe, since you’ll need these if you ever come to sell your home
- Get in touch with your installer promptly if anything doesn’t look or feel quite right, rather than waiting
Ready to Book Your Installation?
Design A View has been fitting windows and doors across Hertfordshire for over 30 years, with 5 star Google reviews and FENSA approved installation on every job. If you’re planning new windows and want a team that gets the details right from the initial survey through to the final finish, get in touch for a quote.